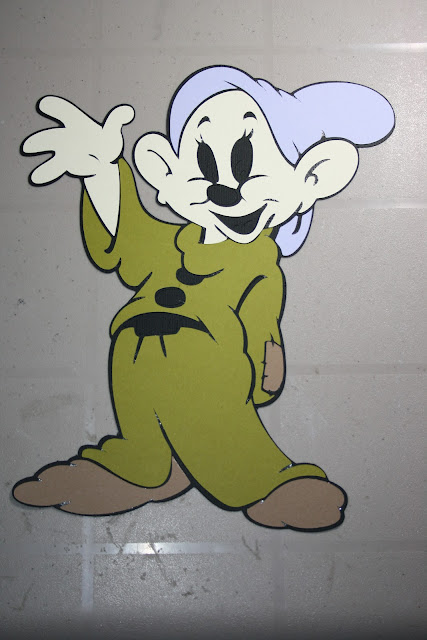
I just joined a group on facebook for my local area that someone set up....it's a buy/sell and trade site for local crafters to sell items that they don't use anymore etc...... I purchased a punch from a local lady and in trade offered her three Disney Characters of her choice. She chose Dopey, Bashful and Grumpy dwarfs....
So I got to work tonight and made Dopey. I got to thinking that I would show you guys how Dopey comes to life and help with understanding the cuts that you have to make....So let's begin...first note: I made this cut from Disney's Happily Ever After Cricut Cartridge and cut him at 11.3 using my gypsy. He can be found on page 67 of the handbook...
The Second cut I added was the Layers Flesh/Hair function key and this cut out his face and hands. This cut will also cut his nose and tongue which I wanted in pink so I used the "hide" feature on my gypsy to not cut it.....
The I added Dopey's hat using the same function as above - Layers Flesh/Hair but this time used the shift key to cut the upper image in the handbook.....
Using the Layers Outfit/Outfit function key I then cut out his clothes - this is one single piece....
Again, using the Layers Outfit/Outfit function key but using the Shift feature I was able to cut Dopey's boots and elbow patch.
The next cut was the whites of his eyes which is found using the function key Layers White/Extra....a good note here is that the larger you cut your image the easier these next few cuts are....the finer details become difficult the smaller they are......When I make smaller versions I usually use a white gel pen for the whites of eyes and then a marker for the eye colour....
Here I have added the blue in Dopey's eyes. This cut comes from the Whites/Extra function button in addition to the shift key. Again this cut also makes the buttons and belt buckle but because I wanted them in a different colour I hid them using my gypsy. If you don't have a gypsy you would just have to make the entire cut in both colours and discard the pieces you don't use.....
Here I added the buttons and belt buckle.....see the above comments as it is the same exact keys..
And I went back and cut Dopey's nose and tongue using the Flesh/Hair function key but this time using my gypsy I hid the hands and face cuts so that it only cut the parts I wanted.....I love my gypsy!
And Voila......Dopey is complete. I put a ruler beside him so that you could get a feel for how large he really turned out. I absolutely love him and hope that the lady who wanted him does too!
Hope you find this helpful....the Disney cartridges are sooooo super cute! A little time consuming....it took me about 45 minutes to make this cut from start to finish. Have a fantastic day!


No comments:
Post a Comment